
How to Adjust ProRender’s Sun & Sky Settings in Maya
AMD Radeon ProRender also allows you to simulate the sky and sun with “Sun & Sky”.
How to Use ProRender’s Sun & Sky in Maya
1. Make sure AMD Radeon ProRender is set as the renderer for Maya.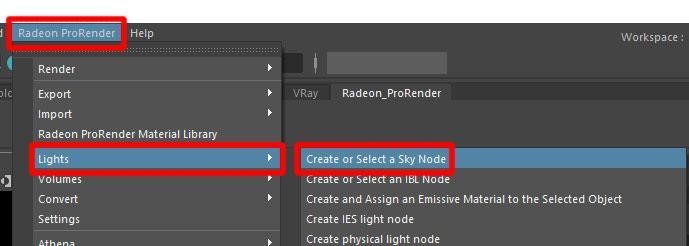
2. Add the RPR Sky node using one of the following methods.
From the menu bar, select Radeon ProRender > Lights > Create or Select a Sky Node.
Or, switch to the Radeon ProRender shelf and click the Create or Select a Sky Node icon.

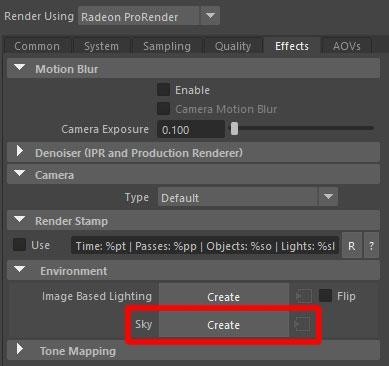
3. Open the Render Settings window, switch to the Effects tab, expand the Environment section, and click Create next to the Sky label.
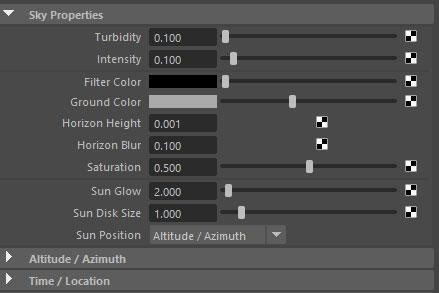
Sky Properties
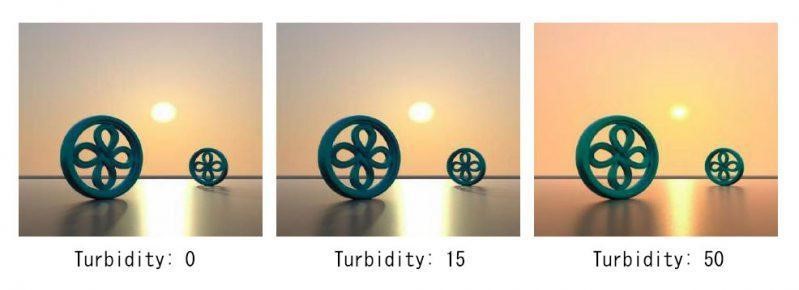
Turbidity
Turbidity simulates fine particles and dust in the air to reproduce the cloudiness of the sky. It affects the appearance of the sun, shadows, and color of the sky. Lower values make the sky brighter and deeper, the shadows sharper, and the sun shine brighter. Higher values simulate more dust in the air, darkening blurry shadows and the overall lighting in a scene, often resulting in a reddish, misty sky.
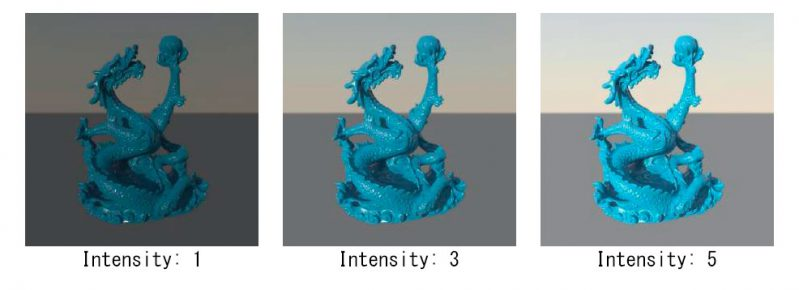
Intensity
Intensity changes the strength of the light by controlling the overall brightness of the lighting, which affects the colors, reflections, and shadows in the scene.
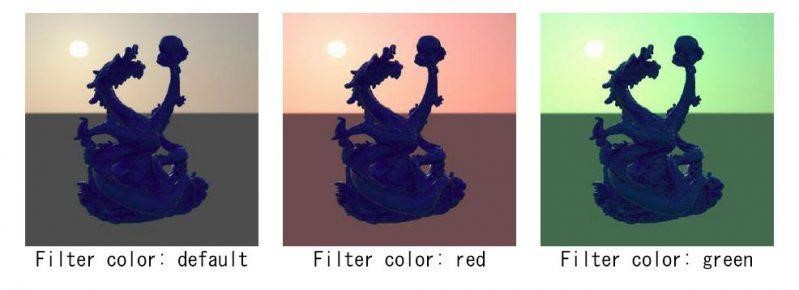
Filter Color
Filter Color adds color to the sky. By default, this value is set to black and the color of the sky depends on the position and orientation of the sun. If you want a more artistic look for the sky, you can choose a filter color other than black.
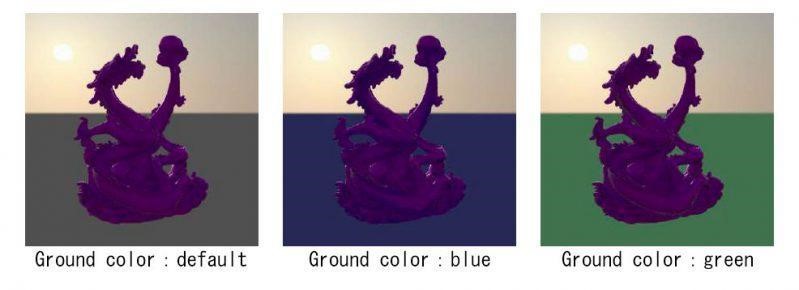
Ground Color
Ground Color controls the color of the ground below the horizon. The color of the ground also affects how much light bounces off the ground into the scene.
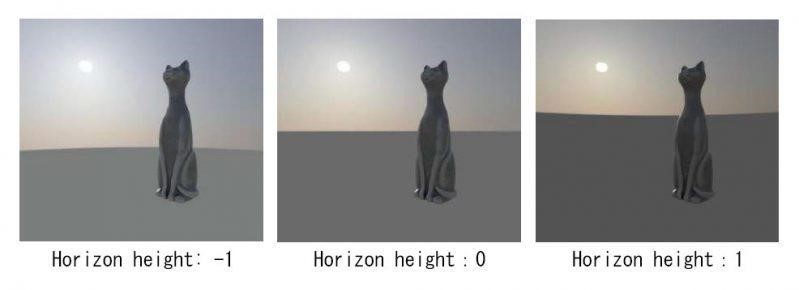
Horizon Height
Horizon Height controls the height of the horizon line. Values above 0 push the horizon up, values below 0 pull it down.
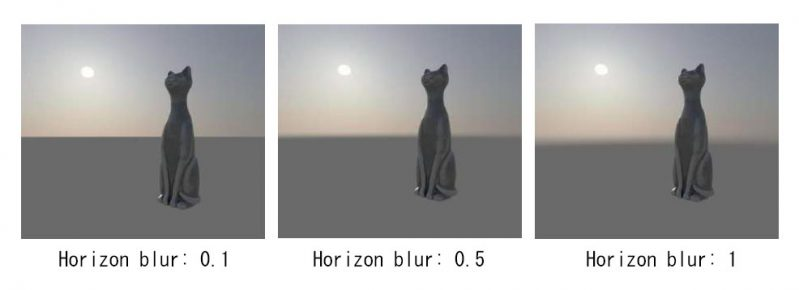
Horizon Blur
Horizon Blur controls the clarity of the horizon. The lower the value, the sharper the ground and horizon. Higher values blur the horizon and give the effect of fog.
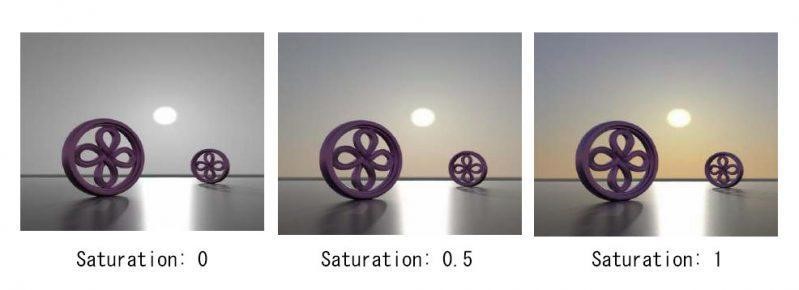
Saturation
Saturation controls the saturation of the sun and sky. The value range for this parameter is 0 to 1, with smaller values decreasing saturation and higher values increasing saturation.
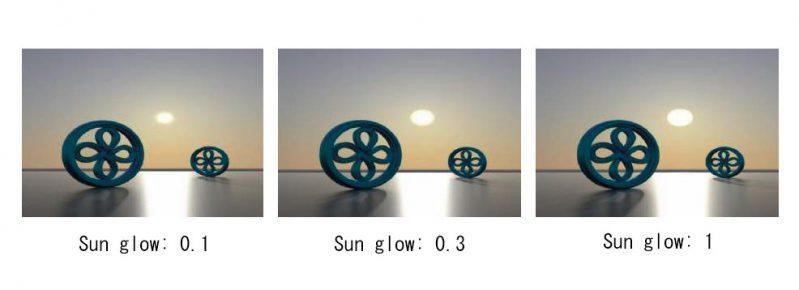
Sun Glow
Sun Glow controls the brightness and size of the sun. Increasing the value increases the shine.
Note: Be careful with increasing this value too much, as the sun will develop noise. If you want to increase the size of the sun, consider changing the size of the sun itself with Sun Disc Size (described below.)
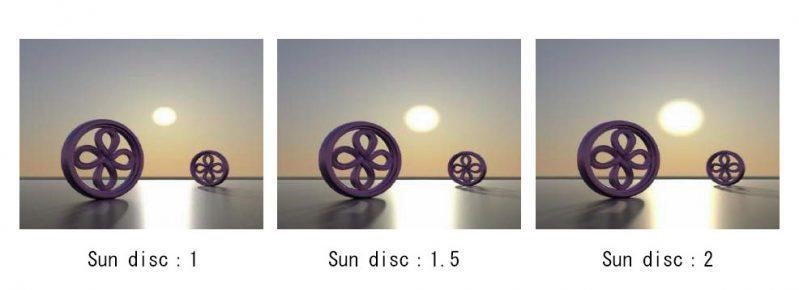
Sun Disc Size
Sun Disc Size controls the size of the sun. Increasing the size brightens the scene as if more light is being emitted, but does not affect the softness of the shadows.
Sun Position
To change the position of the sun, there are two models to choose from: Altitude / Azimuth or Time / Location.
Altitude / Azimuth
With this first model, you can set the position of the sun with the parameters Altitude and Azimuth.
The height and angle of the sun also simulate the environment and the softness of the sun’s colors and shadows.
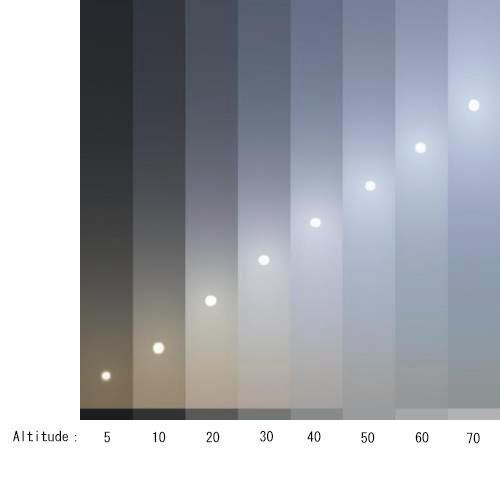
Altitude controls the height of the sky above the horizon. The altitude values are angles between -90 and 90 degrees (the sun is at 90 degrees at its zenith). Be aware that the color and brightness of the environment change with the altitude of the sun. You can increase or decrease the elevation value to simulate a sunrise or sunset.
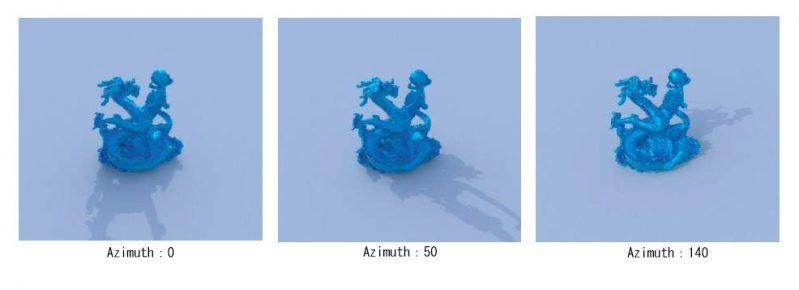
Azimuth (direction) controls the placement of the sun by rotating it around the horizon. Azimuth values are angles from 0 to 360 degrees.
Time / Location
The second model allows you to simulate the sun at any place in the world at any given time. For the exact position of the sun, options such as year, date, hours, minutes, seconds, time zone, latitude, and longitude are available.
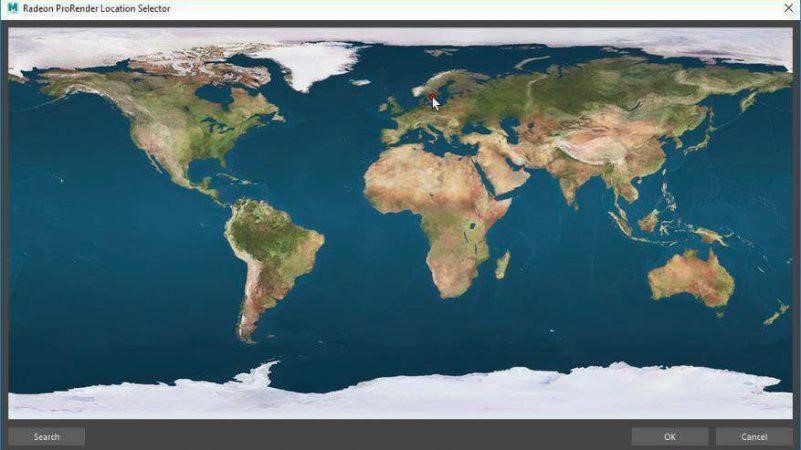
Click Get Location to display the map. You can choose from any place on earth.
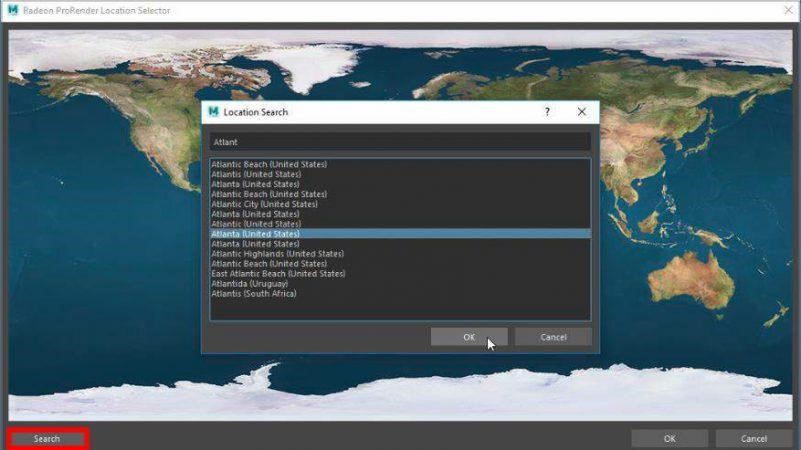
You can also search for a city name from the lower left Search button and define the exact location you want.
Portal
Add Portal Mesh defines a mesh that acts as a portal in the scene. It can be added by clicking the Add Portal Mesh button and selecting the mesh you want to define as Portal light.