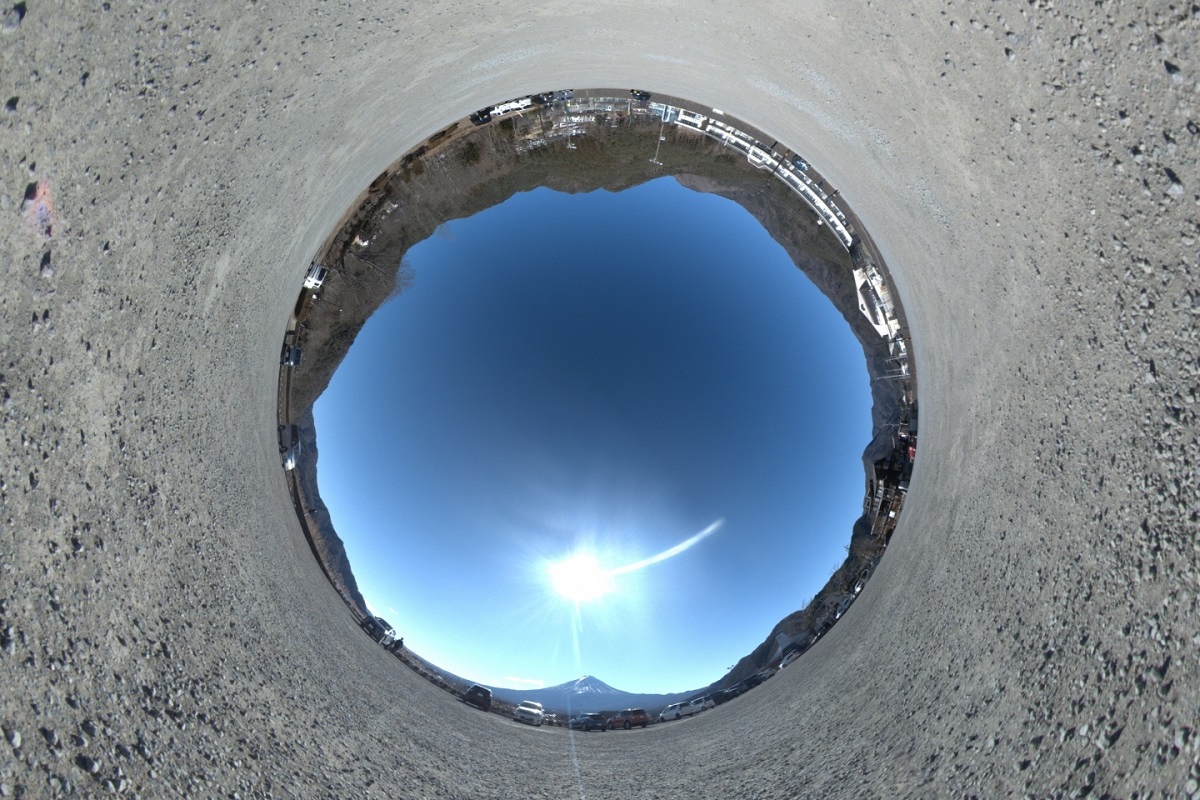
How to Render 360 Videos and Images in Blender
With virtual reality (VR) technology fast improving and becoming more popular and affordable, the demand for fully immersive 3D experiences grows greater every year. VR headsets like the Oculus and PlayStation VR are being used not just for entertainment, but for 3D model creation as well. Blender is no exception.
Images like HDRI photography are already used like this in visual production, allowing for scenes to have the effect of natural light using photographs as background images, simulating a 360-degree environment. But how do you render such an image? In this article, we will explain to you step by step how to take your scene and render it into a 360-degree video or image in Blender.
Rendering a 360 Video or Image in Blender
1. Set Your Render Engine and Resolution
Once you have your Blender scene open, first set your desired render engine in the Display Properties settings. In the Output Settings, set the resolution to your desired resolution.
2. Turn on Stereoscopy
While still in the Output Settings, find the Stereoscopy option and click the checkbox beside it to activate it. There should be two settings in the dropdown menu, provided you have activated Stereoscopy: Stereo 3D or Multi-View. Set to Stereo 3D.
3. Set the Camera
Next, select the camera in the Outliner to access the Camera Properties submenu in the Properties tab. If you have multiple cameras, you will need to set them individually. In the Camera Properties settings, set the Lens Type to Panoramic and then set the Panorama Type beneath it to Equirectangular.
You will also find the Stereoscopy settings below the Camera settings. Set the Mode to Off-Axis if it is not already set.
You can also set the Convergence Plane Distance and Interocular Distance. The Interocular Distance settings tell Blender how large you want the objects in the scene to look in the final render, whereas the Convergence Plane Distance is the plane found in the 3D viewport after activating Stereoscopy in the Output Settings.
If you look below the Stereo 3D option, you will see two camera icons labeled left and right, referring to your left and right eye, respectively. The Convergence Plane is where these two cameras merge, similar to how 3D imagery works.
You will also want to be sure to know where you want your camera to be positioned. Please be aware that for these types of images, there is limited area around the Convergence Plane where people can look at objects without eye strain or discomfort.
Take into consideration what you want your objects of focus to be, and that objects closer to the camera will have the effect of coming toward you, whereas objects behind the Convergence Plane will be deeper into the render.
4. Render the Image or Animation
With all of these settings complete, the scene is ready to render. If you are animating a video, be sure to set the frame range, the frame rate, and the output folder in the Output Properties settings. If you are rendering locally, you can set the file format to FFmpeg if you wish it to be a video. When you are ready, you can Render Image or Render Animation in the Render menu of the menu toolbar.
It is recommended that you test render the scene with a low resolution to confirm the image or animation is to your specifications.
Considerations for 360 Videos and Images in Blender
If you followed the above instructions, you should be pleased with your results! Though this is a fairly simple example of how to make 360 videos and images in Blender, it is just the tip of the iceberg. If you are thinking of working with VR/AR in future projects, the following are a few tips to help you on your way.
- A Stereo 3D pipeline relies on how you are able to view the image in Blender’s You can change the view using the Set Stereo 3D settings found in the Window menu of the top menu bar.
- Blender can support 3D hardware and can even be used to create scenes entirely in 3D using Blender XR.
- VR in Blender is supported by OpenXR, allowing for VR headset support for scene inspection.
- If you are not using headsets for your work, keep in mind that if you wish to view the Stereo image properly in your viewport, you will need to toggle your viewport to full-screen mode.
How to Improve 360 Video Rendering in Blender
The higher the resolution, the more impressive your 360 video and images will look, but this will push your GPU to its limits, so we always recommend using a render farm service to help you get beautiful results in a fraction of the time.
If you register now with Render Pool, you will receive 100,000 free trial points to get started. Why not give our service a try? Happy Rendering!