Mastering Arnold Renderer: Maximizing Your Rendering Results
When it comes to rendering, Arnold stands out as a popular option in the VFX and animation industry. In this article, we will compare its features to another rendering competitor V-ray, to help you decide which one suits your projects better. From rendering speed and user interfaces to real-time updates and project aspects, we will explore essential factors to consider. Additionally, we will provide tips for achieving better render quality with Arnold, including utilizing AOVs, understanding sampling, and exploring cloud rendering options.
Whether you’re a beginner or looking to enhance your skills, this comprehensive guide will help you make the most of Arnold’s powerful capabilities.
What Is Arnold?

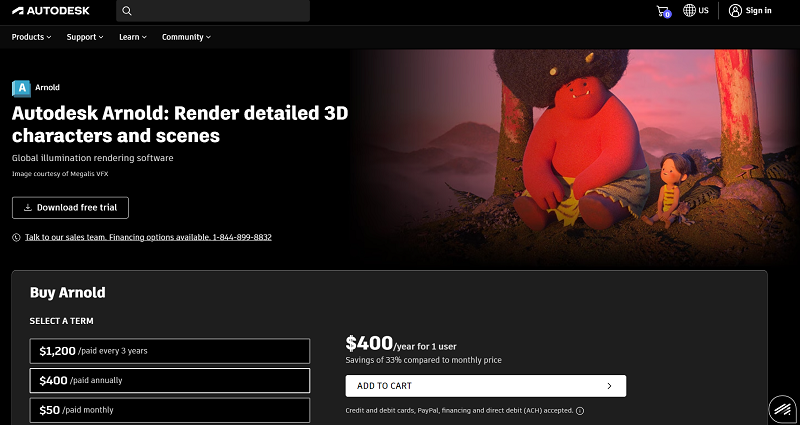
Arnold is an advanced rendering tool created for animation projects and visual effects, and it stands as a leader in ray-tracing 3D rendering. Developed by Solid Angle and Sony Pictures Imageworks, it serves as Sony’s primary renderer and is utilized by over 300 studios worldwide. You can work with Arnold independently or in conjunction with various 3D software like Maya, 3Ds Max, Cinema 4D, Houdini, and Katana. Currently, Autodesk distributes Arnold as part of its 2016 acquisition of Solid Angle.
Arnold vs. V-ray

Comparing Arnold and V-ray, two principal renderers widely used in the VFX and animation industry, it’s essential to consider their features and determine which one suits your project better.
| Aspect | V-ray | Arnold |
|---|---|---|
| Speed | Renders quickly and efficiently in bias mode | Quick, dependable, and efficient with biased-based rendering |
| Interface | More organized layout with accessible tools | Advanced interface with a vast array of features |
| Real-time Rendering | Offers real-time rendering updates | Offers real-time rendering updates |
| Project Scale | Ideal for smaller projects | User-friendly for medium to large VFX projects |
| User Expertise | Easy to learn and yields incredible results | Excels in delivering high-quality outputs for more extensive projects |
Speed
Speed is a crucial factor when selecting a render engine. V-ray excels in bias mode, rendering quickly and efficiently, and capable of handling extensive data without missing any details. Its rendering speed is faster than many other renderers due to its wide array of manual settings.
On the other hand, Arnold employs biased-based rendering, enabling designers to focus on creating stunning visuals without getting bogged down in settings. It’s quick, dependable, and efficient, and while V-ray may have the upper hand in rendering speed, Arnold shines in delivering superior lighting results through its path tracing.
Interface
Regarding the interface, V-ray boasts a more organized layout with tools and features readily accessible from toolbars. However, you may need to search within these toolbars to find the specific tools you need.
Arnold, on the other hand, features a more advanced interface with a vast array of features, which might initially confuse users. However, with familiarity, it proves to be straightforward and user-friendly. Moreover, Arnold allows easy toggling between CPU and GPU rendering with a single click, eliminating the need for extensive tweaking.
Real-time Rendering
Both Arnold and V-ray offer real-time rendering updates, enabling designers to visualize lighting and texture results without waiting for extended periods to see the final output.
Considerations for Project Scale and User Expertise
Both render engines share similarities in terms of performance. V-ray caters to user-oriented needs, making it ideal for indie artists or beginners handling smaller projects. It’s easy to learn and yields incredible results. On the other hand, Arnold is user-friendly but designed for medium to large VFX projects, which means it has a lot of tools that overwhelm beginners. Nonetheless, it excels in delivering high-quality outputs for more extensive projects.
Tips for Better Render Quality with Arnold
Arnold is powerful software for rendering animations and visual effects. However, to achieve the best results, there are some important considerations that designers should be aware of. Here are some tips that can help improve render quality.
AOVs
Arbitrary Output Variables, or AOVs, allow artists to isolate specific parts of the scene. This helps identify which elements might be causing issues in the render. To set up AOVs in Arnold, follow these steps.
- Go to Rendering Editors.
- Click on Render Settings.
- Navigate to the AOVs tab.
- Navigate to the AOV browser.
- Use the AOV browser to select from various AOV groups.
- Choose the appropriate AOVs for your needs. The main AOVs include:
- Specular direct: Isolates specular highlight noise caused by direct lighting.
- Diffuse direct: Useful for reducing noise caused by direct lighting on surfaces.
- Specular indirect: Helps control bounce light noise in specular highlights.
- Diffuse indirect: Use for noise in bounce-lit surfaces.
Pay attention to noise issues in see-through surfaces as they can affect the overall render quality.
Sampling
In ray tracing, sampling refers to the number of rays fired into the scene to determine the color of each pixel. Controlling the number of rays fired per pixel is crucial for achieving high-quality renders and optimizing rendering time.
Cloud Rendering
For working effectively with Arnold projects, consider investing in a capable workstation. Alternatively, you can take advantage of a cloud rendering service. This allows you to save your work and access it remotely through a server via Remote Desktop when needed.
Render Pool is a cloud rendering services company that compliments Arnold’s capabilities. It provides an affordable way to optimize rendering processes, making it a perfect solution that can save time and money when rendering Blender Cycles and Radeon ProRender plug-in scenes.
Learning How to Render with Arnold
Arnold has been a leader in the industry for decades, and there are many free online resources available for learning how to use it. However, for beginners, these tutorials may not be very easy to understand. It’s essential to have a basic background knowledge of various VFX software programs before delving into Arnold Renderer. Even with a basic idea of how to use Arnold, it will take years of practice to fully grasp and optimize the potential of this render engine.
To make the most of Arnold, there are several valuable courses available that can help you master every button, feature, and slider. Most Arnold technical courses should cover the following:
- Environment
- Preview-Ray Depth
- Ray Sampling
- Motion Blur
- System Settings
- Texture Render Settings
- Light Render Settings
- Common Settings Overview
- Arnold Object Settings
- AOVs
- Exporting Data
- Diagnostics
- Subdivisions
- Curve Settings
Enrolling in a course will enhance your Arnold experience and improve your artistic and technical skills. Through dedicated learning and practice, you can harness the full potential of Arnold and create exceptional renderings for your projects.